
For many merchants, items can be purchased and even sold in units other than individual pieces. Maybe you sell a candy bar, which comes from your vendor in a box of 24. Most of the time, you sell that candy one at a time, but occasionally you might offer a discounted rate if someone was to purchase the entire box. Counterpoint’s Alternate Units can help you both in the purchasing step and the sales step to simplify your processes when it comes to items that come in multiple units.
Defining Alternate Units
1. From the Counterpoint Home Menu, select INVENTORY -> ITEMS
2. Enter, scan, or look up the item
3. Click on the Units tab
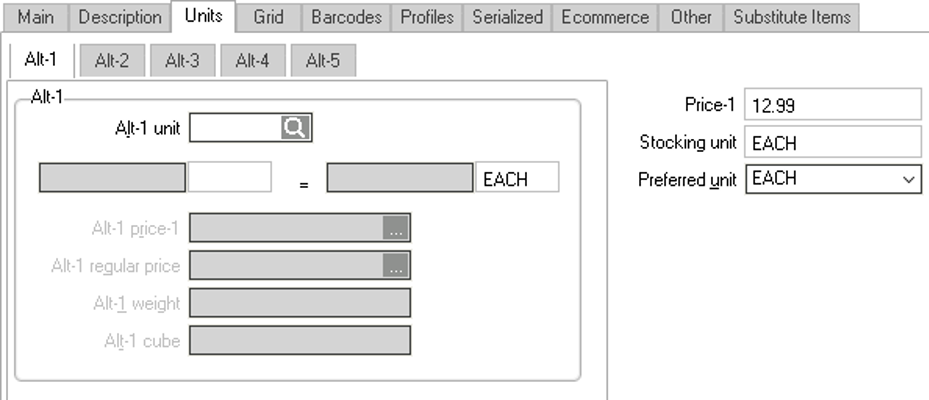
4. Look up the Alt-1 Unit
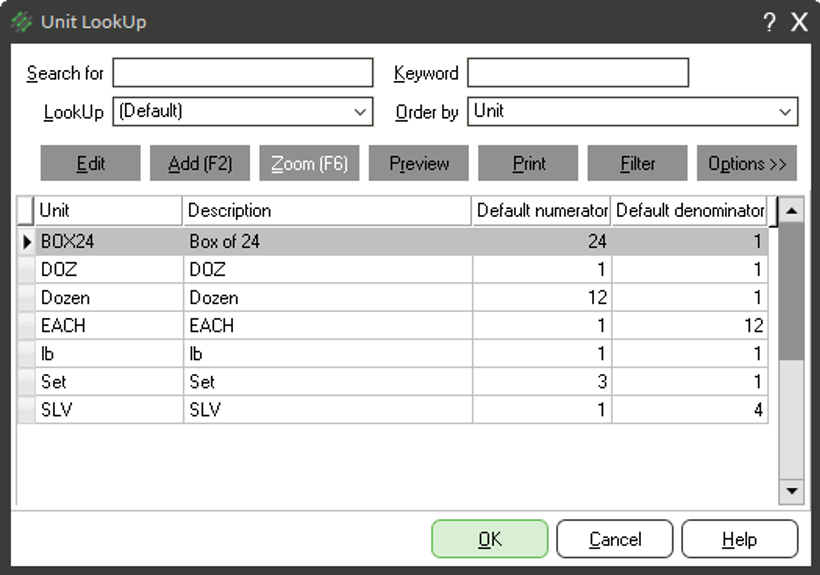
5. (Optional) If you don’t see the Unit you need, add a new unit by clicking Add
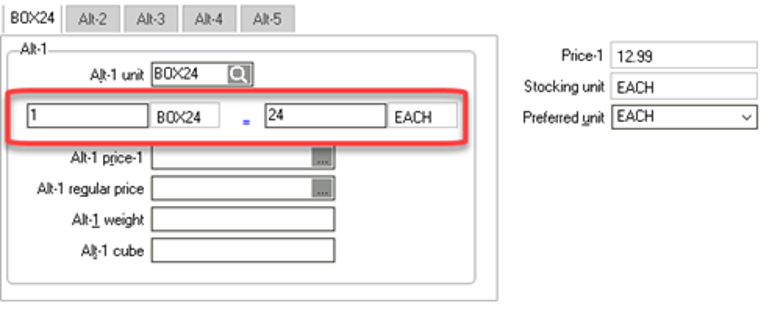
6. Enter or edit the conversion factor. The conversion factor defines how many stocking units make up the new alternate unit.
7. (Optional) Define an Alt-1 price-1. Alt-1 price-1 is the selling price of the Alternate Unit of the item. If this field is not filled in, but the item is sold as that unit, Counterpoint will multiply the item’s price 1 by the conversion factor.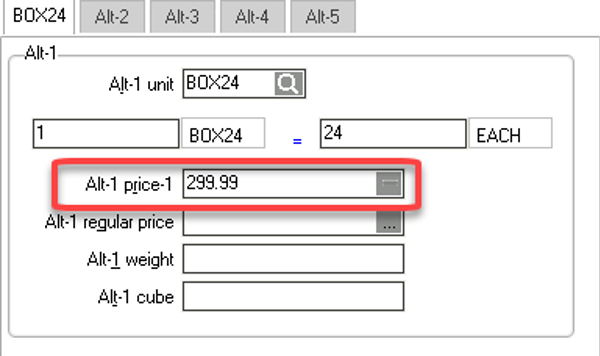
8. (Optional) Repeat Steps 4-6 for any additional units of the item
9. Click SAVE
Other Settings Related to Alternate Units
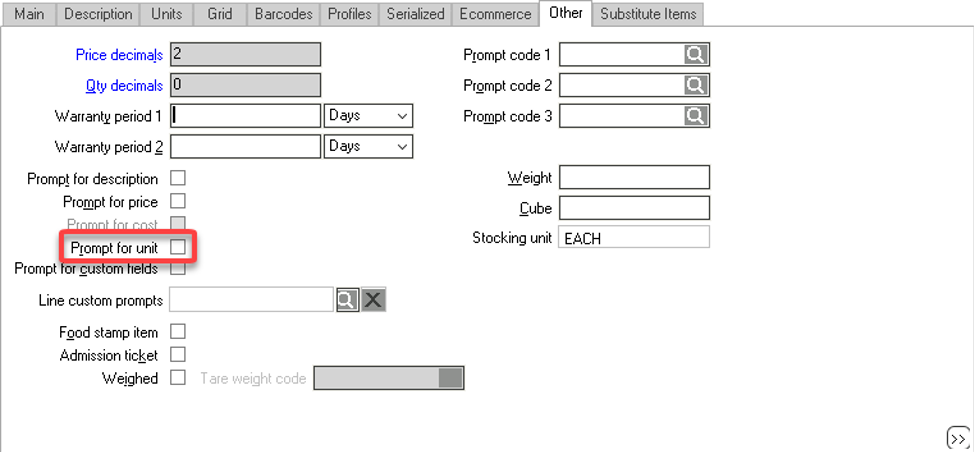
Prompt for Unit
If you want Counterpoint to ask what unit is being sold when you choose the touchscreen button for this item, you can check a box to enable the prompt for unit function.
1. From the Counterpoint Home Menu, select INVENTORY -> ITEMS
2. Enter, scan, or look up the item
3. Click the Other Tab
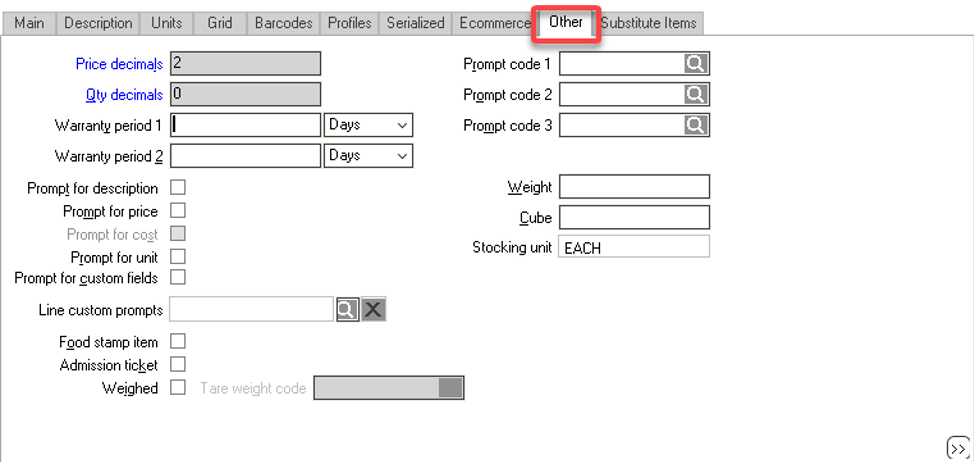
4. Check the box for Prompt for Unit
5. Click SAVE
Barcodes
Individual barcodes can be associated with certain units. Maybe your item has one barcode on the box when it comes in from your vendor, but a different barcode on the individual pieces. To define unit specific barcodes:
1. From the Counterpoint Home Menu, select INVENTORY -> ITEMS
2. Enter, scan, or look up the item
3. Click the Barcodes Tab
4. Scan or enter the Barcode

5. Choose an Associated Unit for the barcode
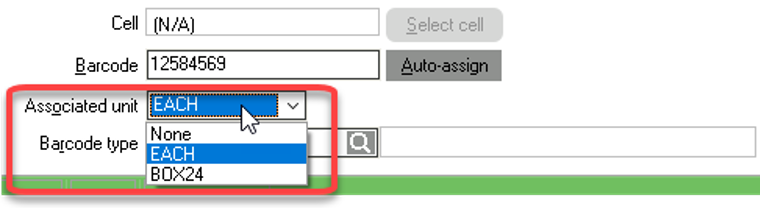
6. Look up a barcode type
7. Add additional barcodes as necessary
Click SAVE
Vendor Items
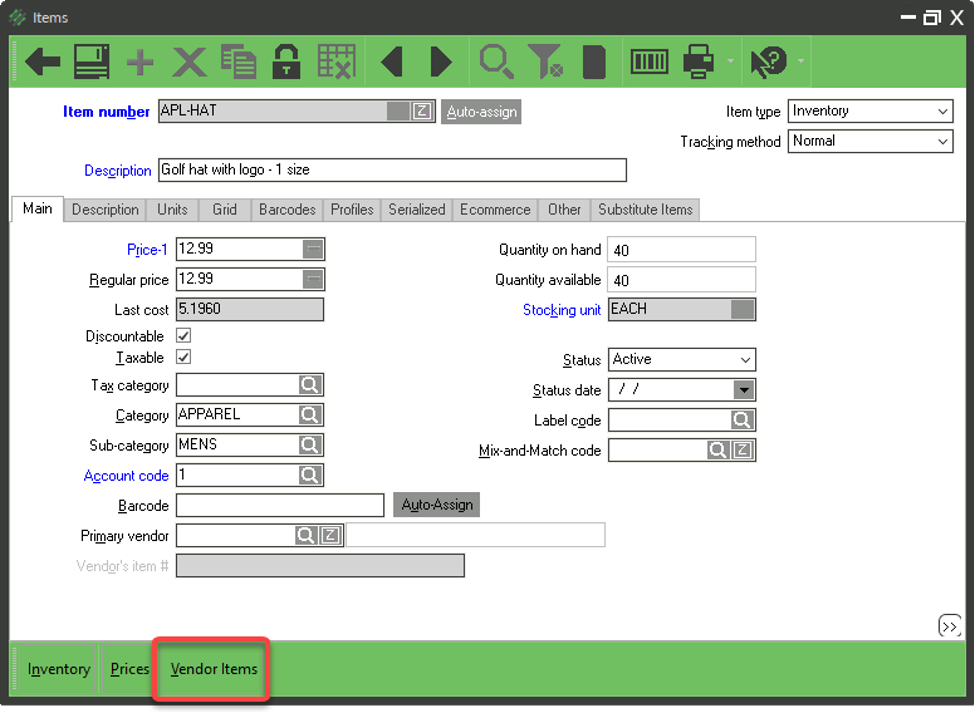
1. From the Counterpoint Home Menu, select INVENTORY -> ITEMS
2. Enter, scan, or look up the item number
3. Click the Vendor Items button in the bottom left corner
4. Enter or look up the Vendor
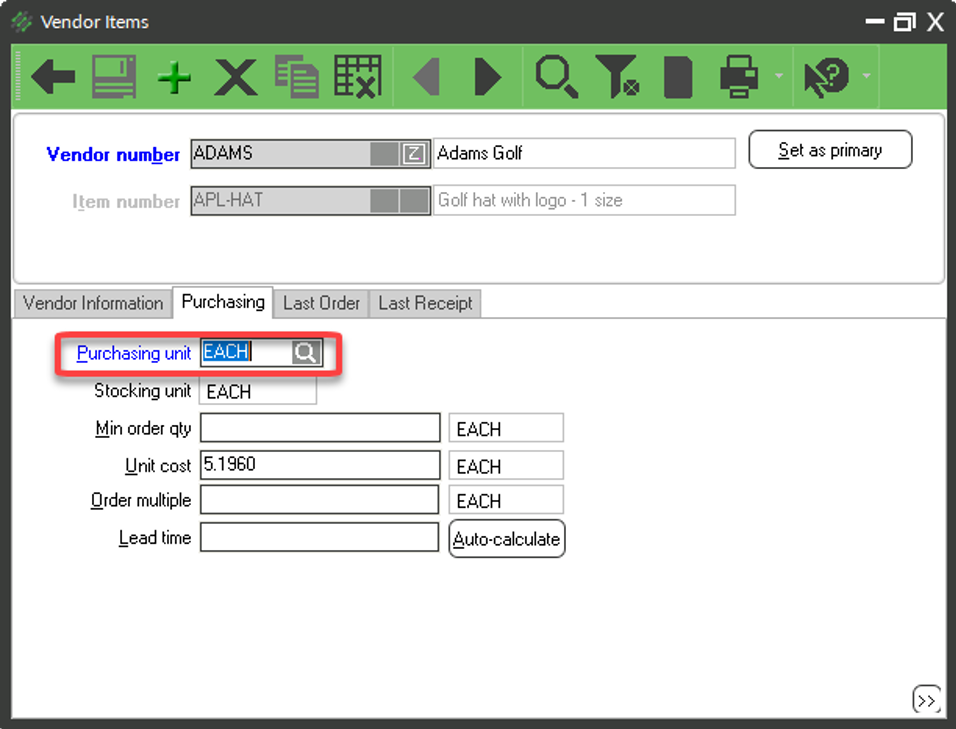
5. Click the Purchasing tab
6. Update the Purchasing Unit
7. Update the Unit Cost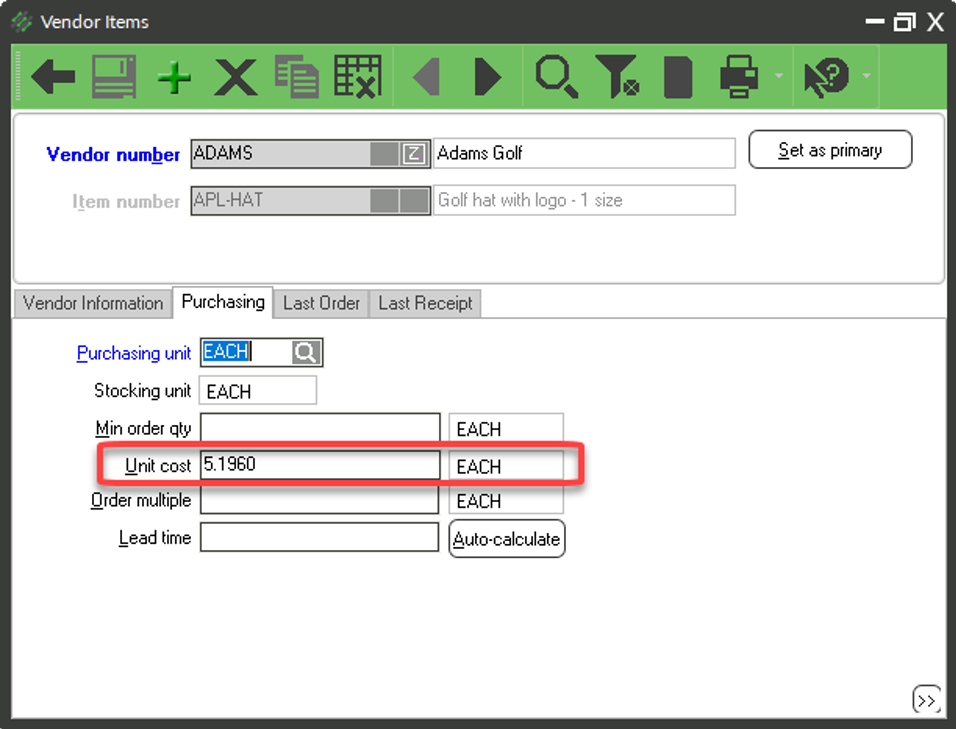
8. Click SAVE


