
From time to time, you may need to reprint a ticket for a previous transaction. Counterpoint has a few different ways to reprint tickets:
| Method for Reprinting Ticket | Reasons to Use the Method |
|---|---|
| Reprint Ticket Button in Touchscreen Ticket Entry |
|
| Print from View Tickets |
|
| Print unposted transactions from a Customer Zoom |
|
| Reprint Tickets Report |
|
| Print from Sales History → Views → Tickets |
|
| Printing history from a Customer Zoom |
|
When you need to reprint a ticket for some reason, gather as much information as you can to aid in searching/filtering for the ticket, such as:
- Date of transaction(s)
- Customer Name/Number
- Ticket total
- Line of item(s) from transaction(s)
- Store
- Station
- Transaction Number
Reprinting Tickets from Today/Open Drawer Sessions
Reprinting using the Reprint Ticket Button
- Select Main Functions → Ticket Functions
- Select Reprint Ticket
- Look up the ticket to be printed
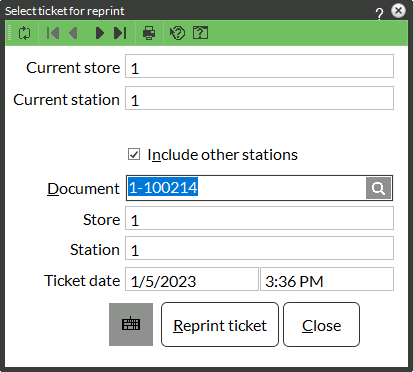
NOTE: You can use column designer to change the columns in the lookup to aid in finding the ticket and that lookup could be saved for future use. Some recommended columns to add are Document, Time, Ticket total, Customer #, and Name.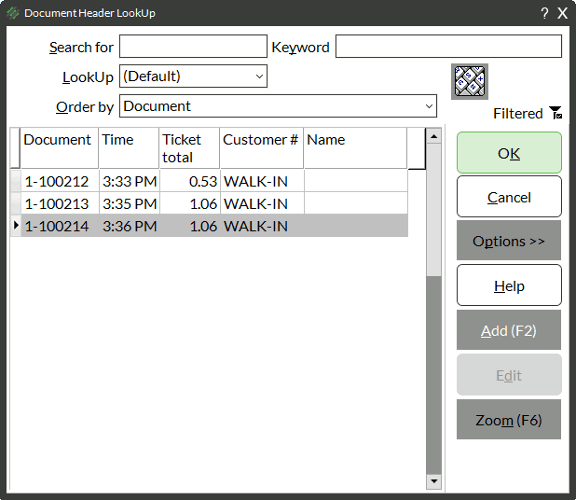
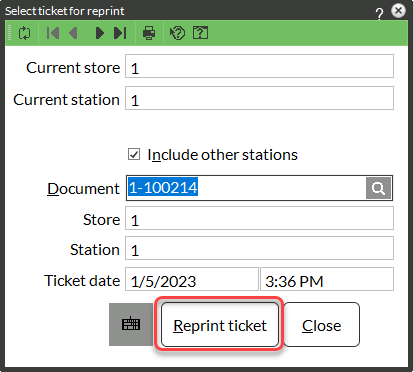
- Click Reprint ticket
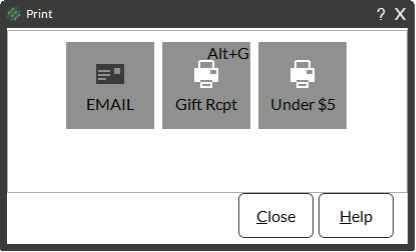
- A window will appear to select the type of ticket to reprint. Click a grey button to reprint that form
Reprinting from View Tickets
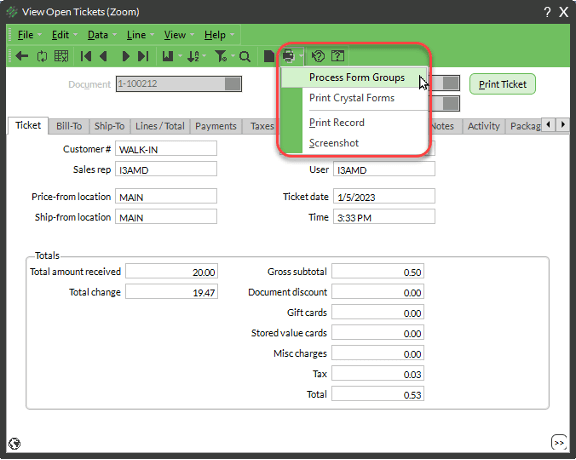
- Select Point of Sale → Views → View Tickets
- Enter or look up the Document (ticket number)
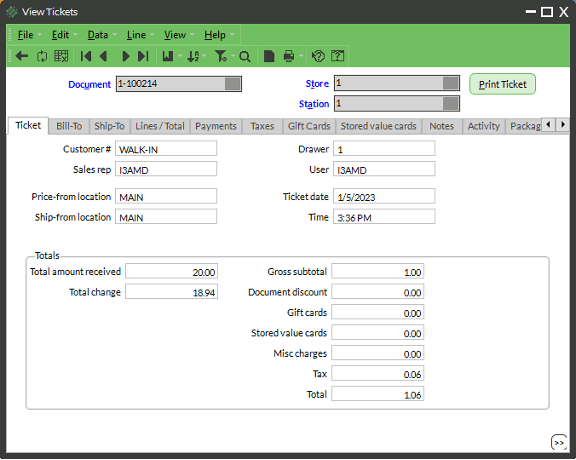
- Use the tabs of the View window to information about the ticket
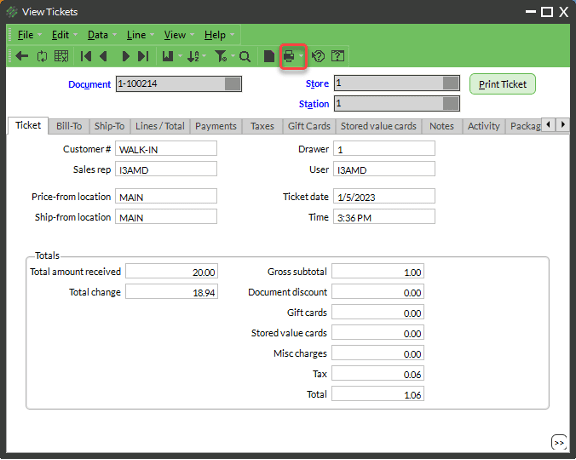
- From the View window, click the arrow drop-down next to the Printer icon in the toolbar
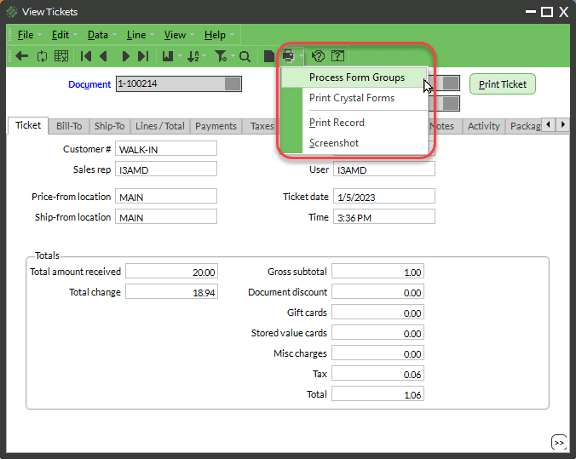
- Choose Process form groups for receipts that go to a receipt printer or Print Crystal forms for receipts that go to a Windows printer
- Depending on what you chose, either:
- Click a grey button for the kind of receipt to print

- Choose a receipt style from the Report drop-down and click Preview

Reprinting from View Tickets
Ways to open a Customer Zoom: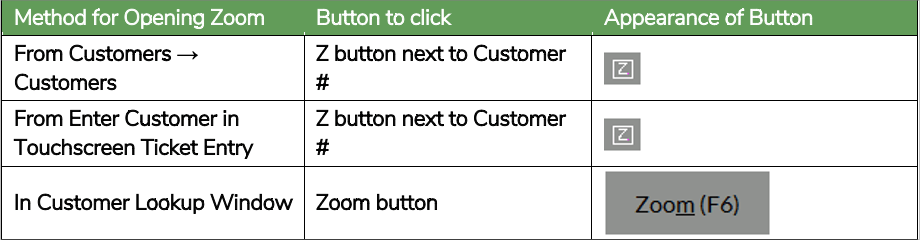
- Enter or look up a Customer #
- Click Zoom or Z button
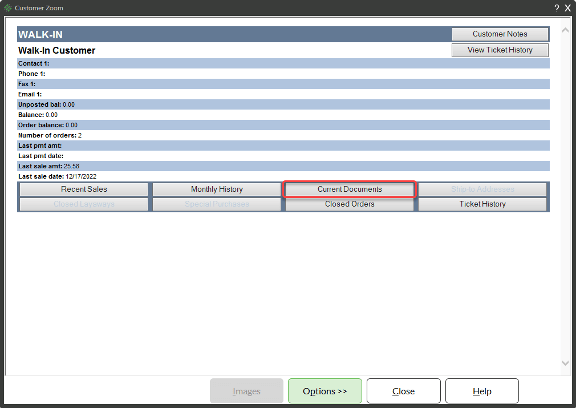
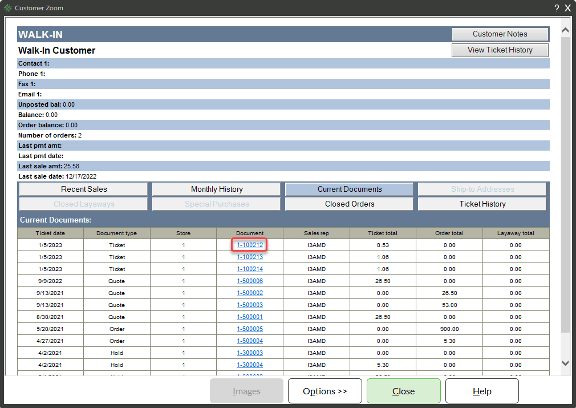
- Click Current Documents
- Click a Document link
- Use the tabs of the View window to information about the ticket
- From the View window, click the arrow drop-down next to the Printer icon in the toolbar
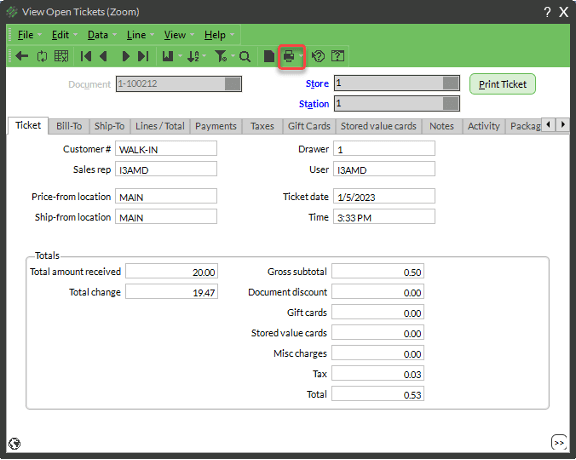
- Choose Process form groups for receipts that go to a receipt printer or Print Crystal forms for receipts that go to a Windows printer
- Depending on what you chose, either:
- Click a grey button for the kind of receipt to print

- Choose a receipt style from the Report drop-down and click Preview

Reprinting Tickets from History/Posted Drawer Sessions
Reprinting from the Reprint Tickets Report
- Select Point of Sale → Reports → Reprint Tickets Report
- In the Report drop-down, select a receipt style
NOTE: Use Receipt EMV – Tickets for a receipt that should print from your receipt printer. You can also select another form type if you need an invoice or order.

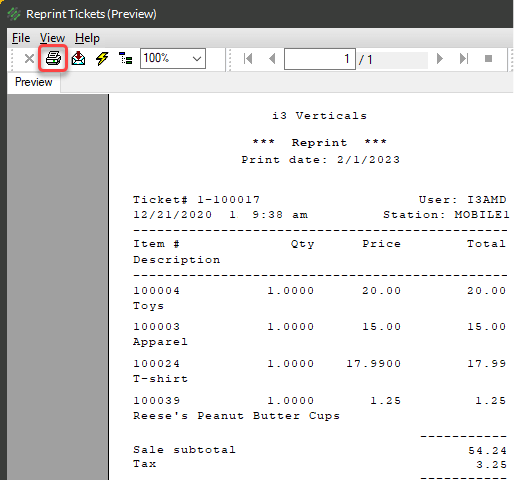
- Use the filters to find the ticket to be printed and select Preview
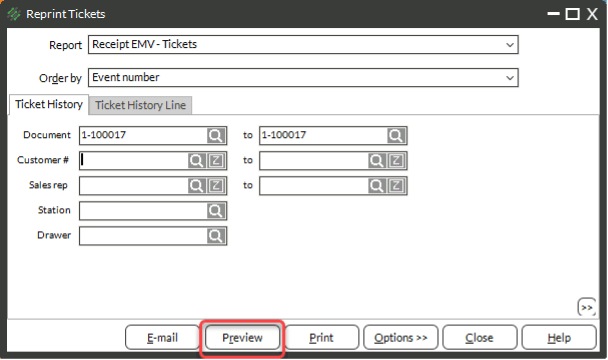
- If the previewed ticket is correct, select Print
Reprinting Tickets from View Ticket History
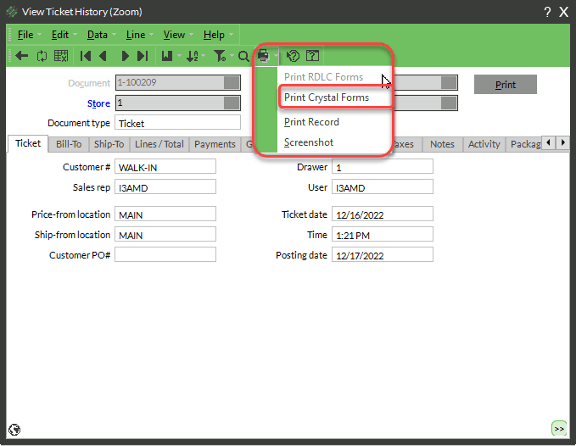
- Select Sales History → Views → View Ticket History
- Enter or look up the ticket number
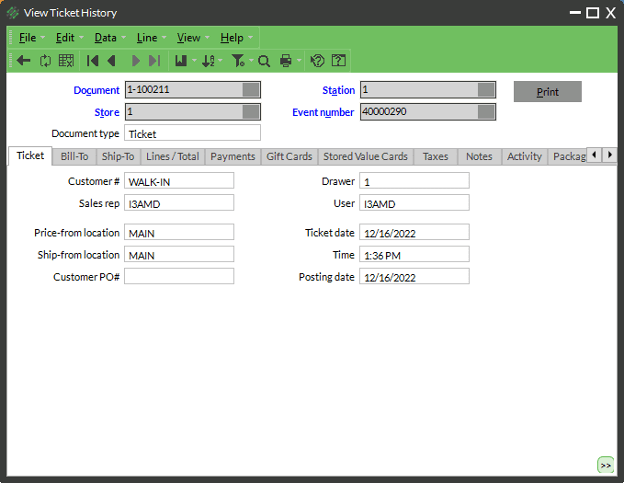
- Use the tabs of the View window to review data
- From the View window, click the arrow drop-down next to the Printer icon in the toolbar and choose Print Crystal Forms

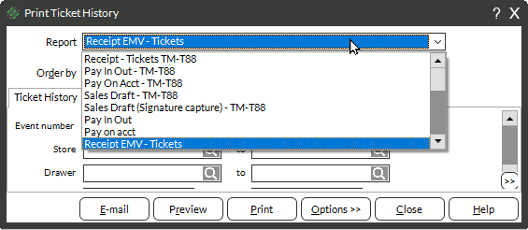
- From the Report drop-down, choose the type of receipt style to print:
- For Receipts from a receipt printer, choose ReceiptEMV – Tickets
- For Invoices, choose Invoice (Letter size)

- Click Preview or Print
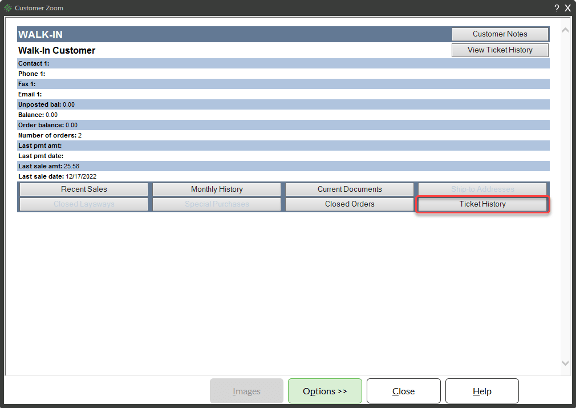
Reprinting from Customer Zoom
Ways to open a Customer Zoom: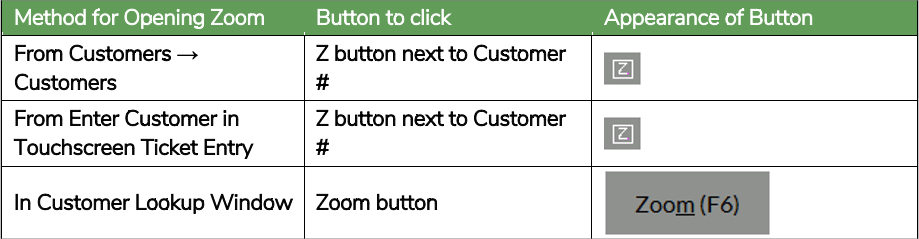
- Enter or look up a Customer #
- Click Zoom or Z button
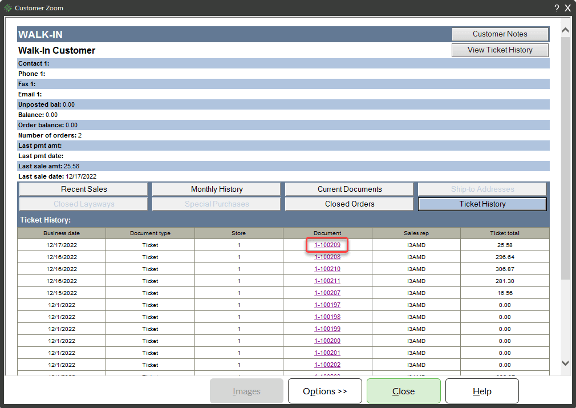
- Click Ticket History
- Click a Document link
- Use the tabs of the View window to information about the ticket
- From the View window, click the arrow drop-down next to the Printer icon in the toolbar
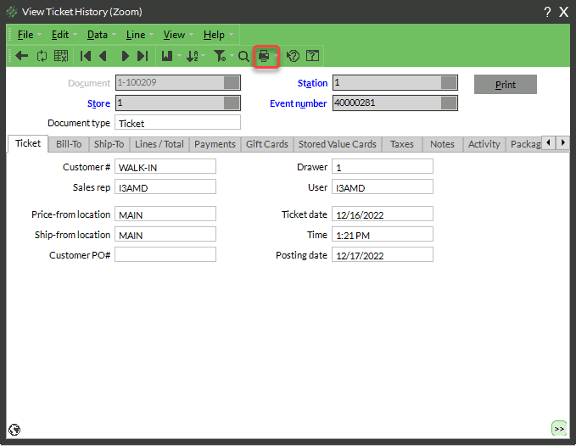
- Choose Print Crystal Forms – even if you intend to print to a receipt printer
- From the Report drop-down, choose the type of receipt style to print:
- For Receipts from a receipt printer, choose ReceiptEMV – Tickets
- For Invoices, choose Invoice (Letter size)
- Click Preview or Print


