Touchscreen codes are the basis of the buttons used in Touchscreen Ticket Entry. Each Point of Sale station can have a unique Touchscreen code, if necessary, but one Touchscreen Code is often used for multiple stations so that a user has the same buttons available even if they work at multiple stations.
Make a Copy of Your Touchscreen Code
It is a best practice to make a copy of the touchscreen code you intend to edit. This ensures that if you make changes that are not as you intended, you can revert to the original touchscreen code and try again to make changes.
- Select Setup → Point of Sale → Touchscreen Codes
- Enter a New Touchscreen Code name
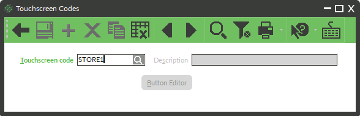
- Press Enter
- Click the Copy From button in the Toolbar

- Select a Touchscreen Code to copy from
- Click OK
- Change the Description
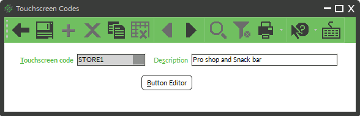
- Click Save
Assigning Touchscreen Code to a Station
- Select Setup → Point of Sale → Stations
- Enter or look up the station
- Click the magnifying glass next to Touchscreen code
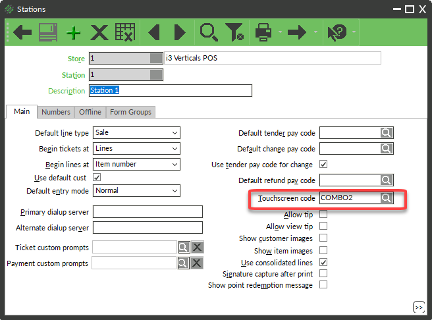
- Choose the new Touchscreen Code
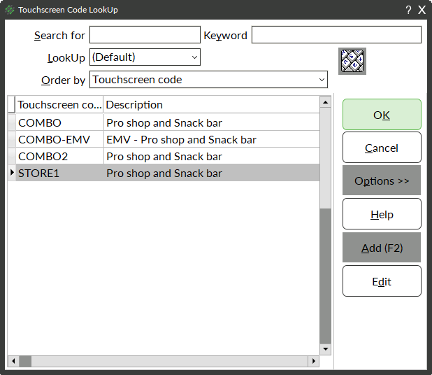
- Click OK
- Click Save
- Repeat for other stations
Editing Touchscreen Codes
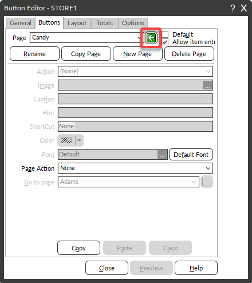
Tabs of the Button Editor
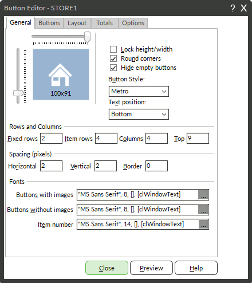
- General – Define settings for the buttons as a whole including:
- Style of the buttons
- Size of the buttons
- How many buttons appear in each section
- Default font for buttons
- Buttons – Define the action and appearance of individual buttons and pages of buttons
- Layout – Define where button sections are located
- Totals – Define how the totals section appears
- Options – Define if each line will ask for a quantity
Navigating in the Button Editor
Using the Buttons tab, you can navigate between pages of buttons two ways:
- Selecting a page from Page drop-down menu
- Selecting a button in one of the button panels, and following the Button Page path
Using the Page Drop-down
This method for navigating to another page of buttons is the fastest method, but it does not validate that the user can get to the page.
- Select Setup → Point of Sale → Touchscreen Codes
- Enter or look up the Touchscreen code
- Click Button Editor
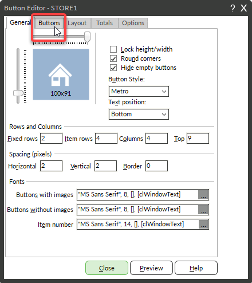
- In the small Button Editor window, click the Buttons tab
- Click the Page drop-down
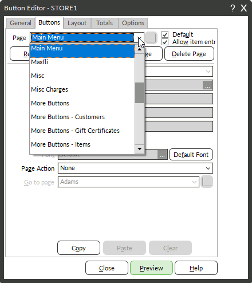
- Select a page from the list
- The buttons in that page display
Using the Button Page Path
- Select Setup → Point of Sale → Touchscreen Codes
- Enter or look up the Touchscreen code
- Click Button Editor
- Select the button so that it is surrounded by small black boxes
- If the button’s action is Button Page, click the green, right pointing arrow
Adding an Item Button
- Select Setup → Point of Sale → Touchscreen Codes
- Enter or look up the Touchscreen code
- Click Button Editor
- In the small Button Editor window, click the Buttons tab
- Use the Page drop-down to choose the page
- Select the button to add or edit (so that it is surrounded by black boxes)

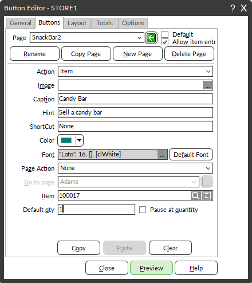
- Fill in the button configuration:
| Field Name | Information To Include |
|---|---|
| Action | Choose Item |
| Image | (Optional) Select a picture |
| Caption | Text displayed on the button |
| Hint | A hint that appears if you hover the mouse over the button |
| Shortcut | A keyboard shortcut for the button |
| Color | The color of the button |
| Font | The font of the text on the button |
| Item | The item that will be added to the ticket |
| Default Qty | The default quantity to sell |
| Pause at quantity checkbox | Check to prompt for quantity |
- Click Preview to view the button

- Repeat for additional buttons
- Click Close
- Click Save
Creating a New Page of Buttons
Before you define individual buttons, you should define the “pages” of buttons for each grouping of buttons you will need.
Creating the New Page
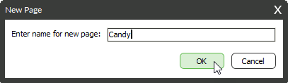
- On the Buttons tab, click New Page
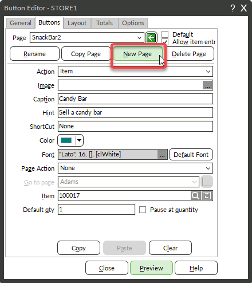
- Enter the name for the new page (it is a best practice to make the name meaningful)
- Check the checkbox for Allow Item Entry (this allows scanning of items)
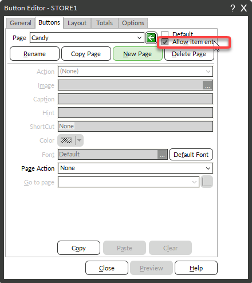
- A page of blank buttons now appears, select one of the buttons to configure that button
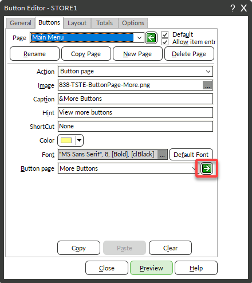
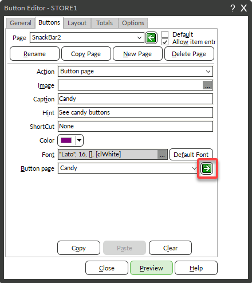
Making a Button Go to a Different Page
- Select a button
- Fill in the button configuration:
| Field Name | Information To Include |
|---|---|
| Action | Choose Button page |
| Image | (Optional) Select a picture |
| Caption | Text displayed on the button |
| Hint | A hint that appears if you hover the mouse over the button |
| Shortcut | A keyboard shortcut for the button |
| Color | The color of the button |
| Font | The font of the text on the button |
| Button Page | Choose the page it will go to |

- Click Preview
Testing New Buttons
- Click the button (that is set to go to another page)
- Click the green arrow pointing right (next to the name of the Button page)
- To go back, click the green arrow pointing left at the top of the Button editor window