Third Thursday Webinar Series: Security Settings
Security is an important component to running a business, and Counterpoint’s security is no exception. Security settings in Counterpoint can limit what information your end users can view, what actions they can take, and how much they can change Counterpoint’s functionality. Join Amanda at 2 pm ET on Thursday, September 17th for an overview of Counterpoint’s security settings. Link: https://attendee.gotowebinar.com/register/1065181985605192719
Menu Codes
Menu codes define the functions available in the Counterpoint menu. For example, if a user does not have the Items function on their menu, they cannot add an item to the database.
Checking the Menu Code
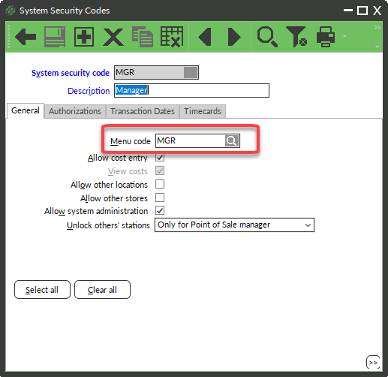
Menu Codes are defined within the System Security Code that is assigned to users. To check what Menu Code is assigned to the System Security Code:
- From the Launchpad, select Setup → System → System Security Codes
- Enter or look up the System Security Code
- Check the Menu Code field to validate which Menu Code is being used
Editing Menu Codes
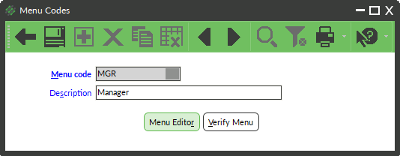
To begin editing a Menu Code:
- From the Launchpad, select Setup → System → Menu Codes
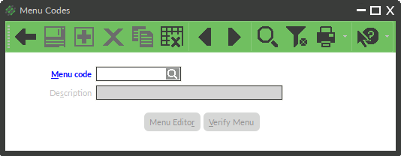
- Enter or look up the Menu Code
- Click Menu Editor
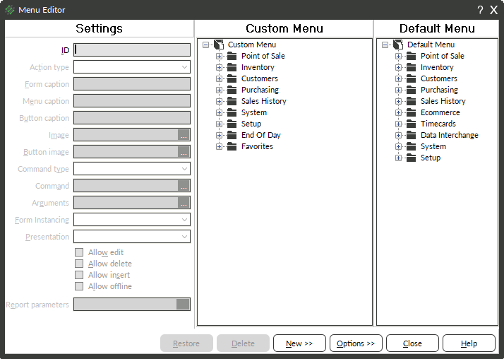
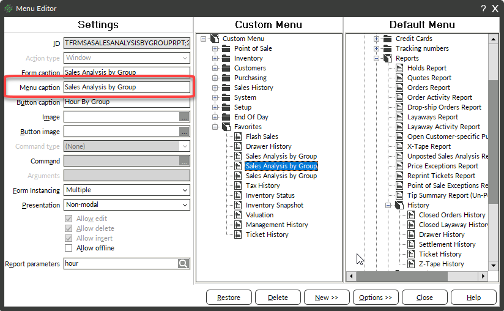
Areas of the Menu Editor
| Area Title | Purpose |
|---|---|
| Settings | Describes the selected item and includes information like Menu Caption which is what the menu button will display. If an item in the Custom menu is selected, you can edit the settings of that item in this area. |
| Custom Menu | The menu that the user will see in a tree style view. Folders can be expanded to display menu functions and sub-menus. |
| Default Menu | The default Counterpoint menu in a tree style view. Folders can be expanded to display menu functions and sub-menus. Items in this area can be dragged and dropped to the Custom Menu area to add that function or folder to the user’s menu. |
Adding Menu Items from the Default Counterpoint Menu
- Expand a folder and find a function in the Default Menu area
- Click and hold to drag and drop a menu from the Default Menu area to the folder in the Custom Menu Area
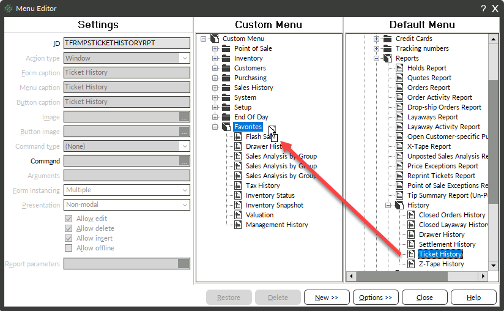
- (Optional) Click the new function in the Custom Menu and edit the Menu Caption to change the text of the button or folder
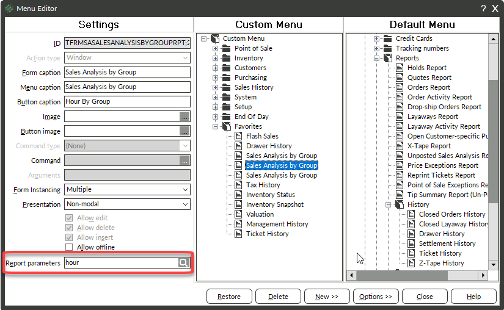
- (Optional) If adding a report to the Custom Menu, choose the Report Parameters that the report will use by default
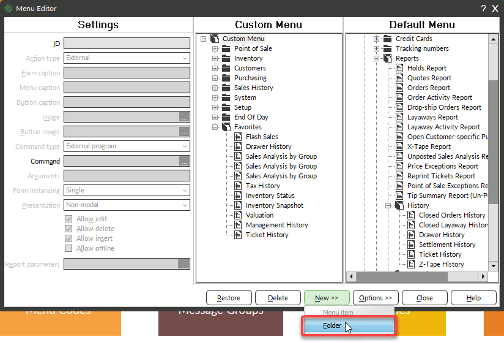
Adding a New Folder to the Menu
- Click the menu option you want the folder to appear under in the Custom Menu area
NOTE: If you want the new folder to show in the main menu, click the Custom Menu folder at the top of the tree - Click the New > > button and choose Folder
- A new folder appears in the Custom Menu area
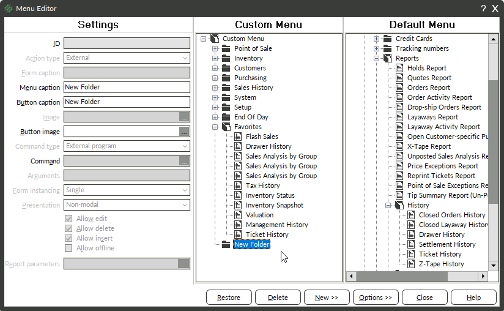
- Edit the Menu Caption to change the text that will display in the menu
Saving the Menu Code
After completing your changes:
- Click Close
- You are prompted to save current changes, click Yes

Seeing the Menu Code Changes
The end user will need to close Counterpoint if they are already logged in to see any Menu Code changes.